
We've all tried them, or at least, some form of these cookies. On the side of an after-dinner coffee, a decorative piece atop a crème brûlée, a part of a petit four plate...that unnoticed wafer-thin cookie that's rolled around itself to form a crunchy tube. Well, it's been taken for granted much too long and deserves some recognition. (It has feelings too!) Sure, they're a perfect finishing touch to ice-cream, a decadent dessert filled with ganache, a fantastic complement to a crème brûlée, but with a rich chocolate taste and delicate texture, these cookies can hold up on their own too, and every bit as delicious served solo.
More accurately, these are a bit big to be called "cigarattes", they more resemble cigars, like huge, will-burn-for-two-hours, torpedo cigars. But since Pierre Hermé named them cigarettes, and Monsieur Hermé can do no wrong, we will call them "cigarettes".
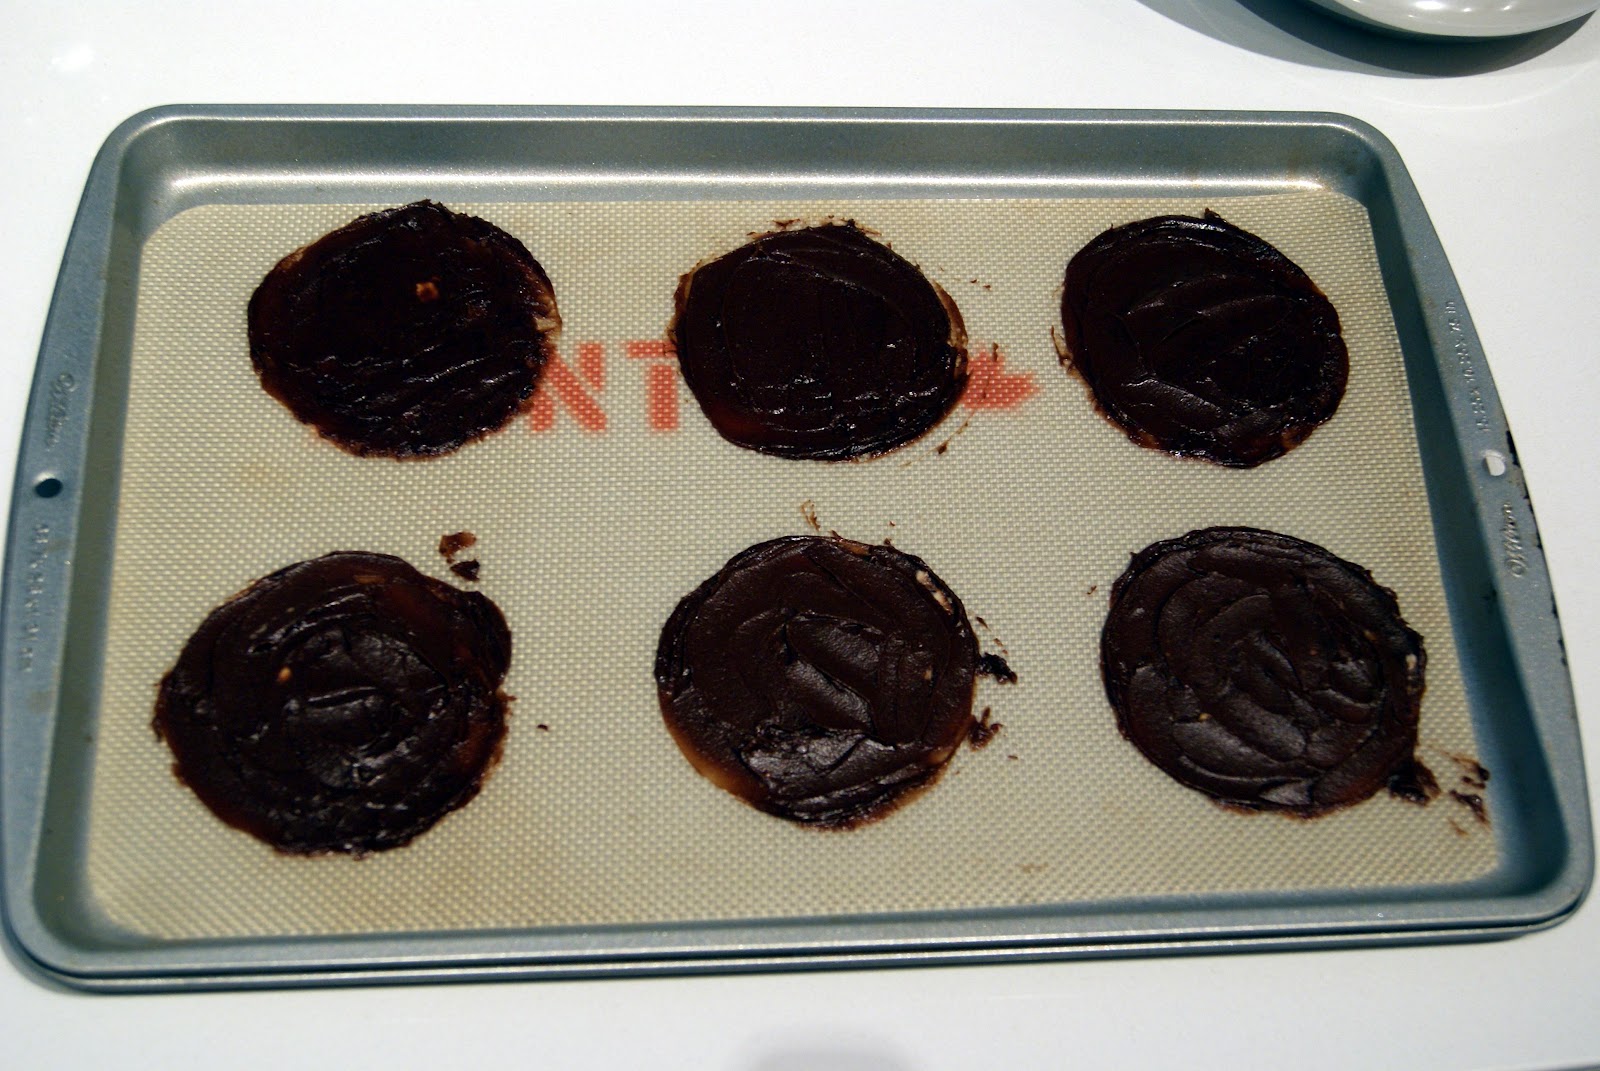
Note that the recipe calls for a plastic round template. I happen to have my trusty Disney coaster which was the perfect size, so I did not construct one as per Monsieur Hermé. Though I've found that most of the cookie batter adhered to the template instead of the baking sheet, so I oiled slightly the base of my coaster, which immediately resolved the problem.

Chocolate Cigarettes
from Chocolate Desserts by Pierre Hermé
makes about 40 cookies
1/2 cup (70 grams) all-purpose flour
5 tablespoons (30 grams) Dutch-processed cocoa powder, preferably Valrhona
7 tablespoons (100 grams) unsalted butter, at room temperature
3/4 cup plus 2 tablespoons confectioners' sugar, sifted
3 large egg whites, at room temperature, stirred just to break them up
1. The easiest way to bake and shape these cookies is to have all your tools out and ready. For starters, you'll need a very thin template. With a little handiwork, you can construct one that's just right using two plastic tops from ice cream, yogurt, or cottage cheese containers. Cut out a 8cm circle from the center of each top and remove the sides being sure to leave at least 1.5cm border all around the circle. Now tape the two tops together. Alternatively, you can cut a template from a piece of heavy cardboard or a thick file folder. After you've made the template, assemble a non-stick baking sheet (only nonstick will do here), an offset icing spatula (to spread the batter out evenly), a plastic dough scraper (to lift the baked cookies off the baking sheet), and a wooden spoon -- you'll wrap the cookies around the handle to turn them into cigarettes; set aside.
2. Center a rack in the oven and preheat the oven to 325ºF (165ºC).
3. Sift the flour and cocoa powder together. Set aside.
4. Working in a medium bowl with a whisk or a sturdy rubber spatula, work the butter and confectioners' sugar together until the butter is smooth and creamy and the sugar is well blended into it. Stirring constantly, add the egg whites little by little. The mixture may separate as the whites go in, but it will smooth out as the dry ingredients are incorporated. When the whites are smoothed, add the flour and cocoa mixture, stirring only until the dry ingredients disappear. (The batter can be made 3 days in advance and kept tightly covered in the refrigerator. If you want to make a small batch of cookies, just use as much batter as you need and keep the remainder in the refrigerator.)


5. For each cookie, drop 1 1/2 teaspoons of batter onto the baking sheet, leaving about 5cm of space between each dollop. To spread the batter, position the template flat against the baking sheet with a dollop of of batter in the center of the circle and, using a small metal icing spatula (an offset spatula is best), spread the batter across the template, then lift off the template. Scrape whatever batter remains on the template back into the bowl and continue until you've shaped as many cookies as you can on the sheet. It's best to bake one sheet at a time, but you can fill additional sheets while one sheet bakes if you want.


6. Bake the cookies for 3 to 4 minutes, or until they are uniformly dull. If you touch the cookies lightly, the image of your fingerprint should remain. Pull the baking sheet from the oven and, working with one cookie at a time, lift a cookie off the baking sheet using the plastic dough scraper and turn the cookie upside down onto a countertop or sheet or parchment paper. Place the handle of the wooden spoon close to one edge of the cookie and roll the hot cookie up around the handle. As soon as you finish rolling the cookie into a cigarette, it should be firm enough for you to slide it off the handle and then shaped the next cookie. If the last of the cookies cool too much to be shaped, slide the baking sheet back into the oven for a minute to soften the cookies. Cool the cookies on the counter or on a rack, and continue baking and shaping the rest of the batter. If you want to dip the cookies with chocolate of fill them with ganache, do so when they are completely cool.

The baked cookies can be kept in an airtight tin at room temperature for 2 to 3 days, but they're really best the day they're made. This is especially true of filled cookies - ideally, you should fill the cookies shortly before serving.
This is a good blog, it is very useful for me.Chocolate Wood We provide the best furniture for home. If you also want to make your home luxurious then contact us.
ReplyDelete